When Apple brought its first computer that uses a mouse, a common feature common to PC hardware was conspicuously missing, that is, the right click button.
Now you can use your MacBook by connecting any mouse easily but the struggle to right click was real for quite few time when the Apple computer was first introduced.
Uses of Right Click on Mac
- Brings up the menu.
- Give options to open, duplicate or to delete a file.
- Customize the view of your Mac desktop.
- Provides option to create a new folder.
- Open new tab or window.
There are three different ways in which Mac users can get access to the right click option.
These are as follow:
1. Use a Mouse with Right Click Button
- The easiest way to have access to the right click option is to connect a mouse which has a right click button build in it.
- A new Mac will instantly recognize any mouse connected to it whether wired , wireless or connected through an USB dongle and will respond when you click the right side button.
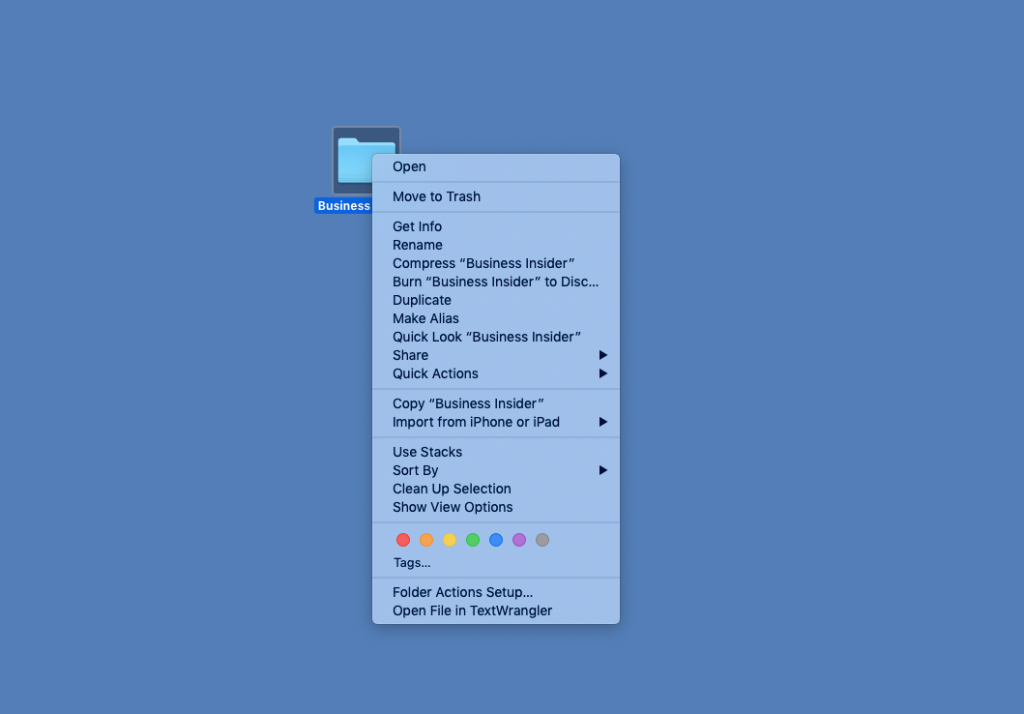
2. Hold the “control” button as you click
- A “control” button on Mac is different from the “CTRL” button on most of the keyboards in a PC. So make sure to use the correct control button.
- Hold the control button along with the left button or we can say the only button on your mouse as a right click or you can tap on the trackpad.
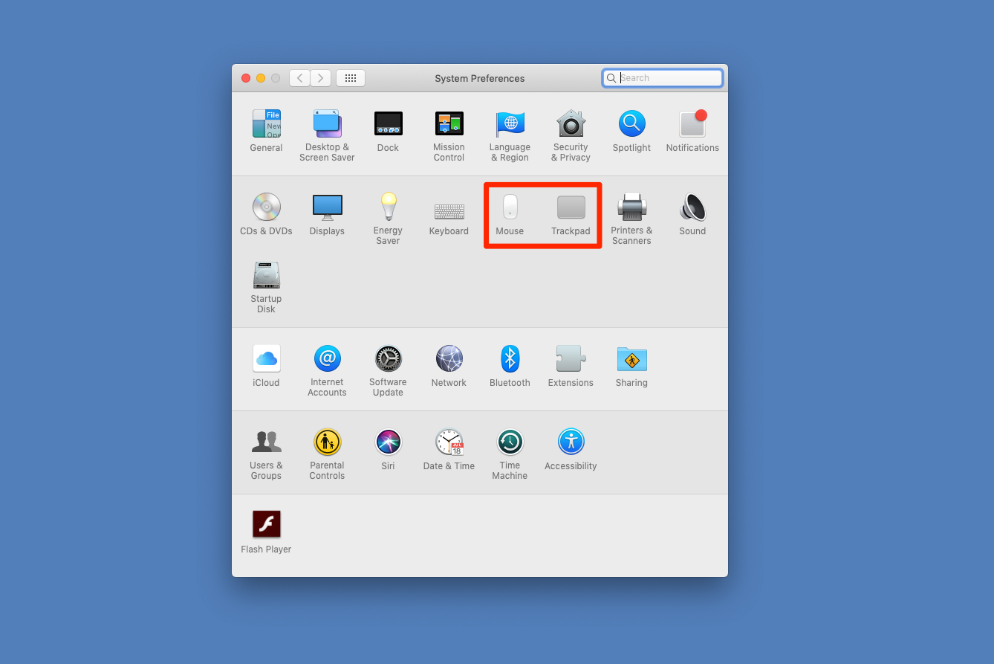
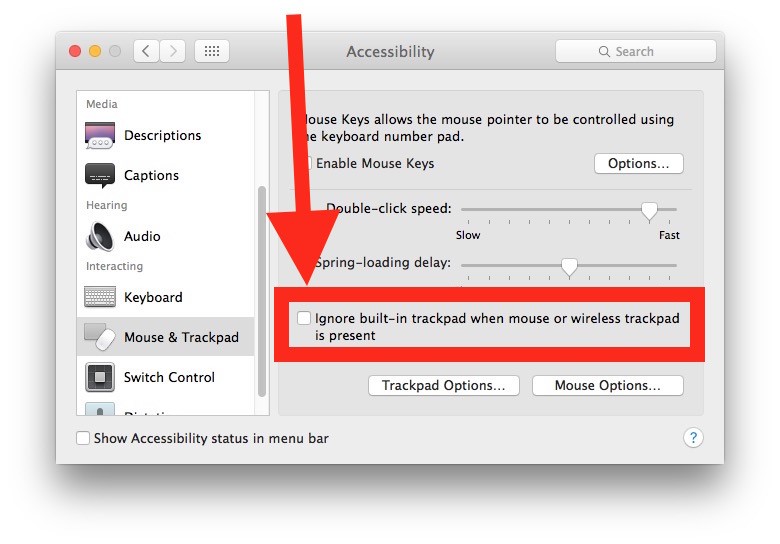
- You can change your mouse or trackpad preference in the Settings option.
- To change these preferences, choose Apple menu > System Preferences, click Accessibility, click Pointer Control, and then click Mouse & Trackpad.
3. Use two fingers on trackpad
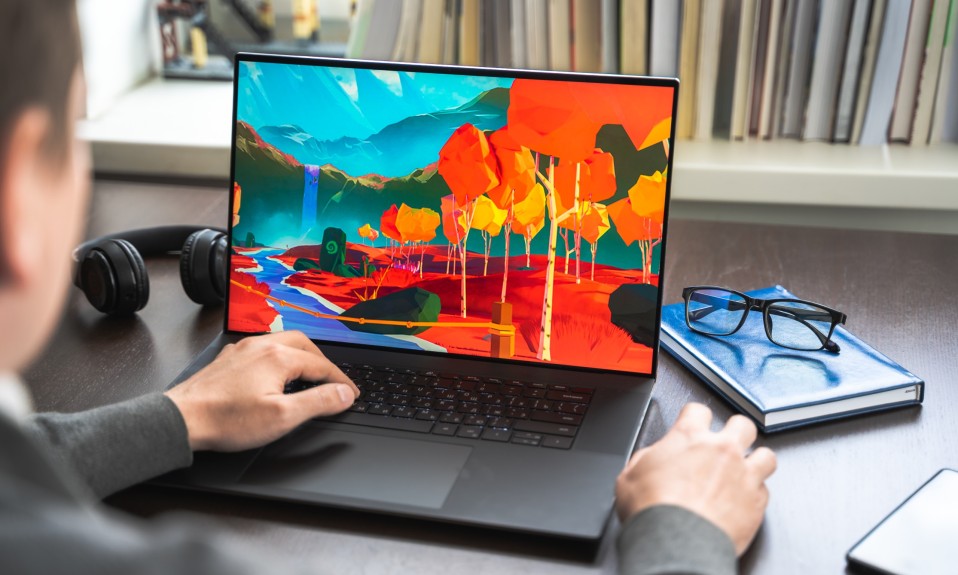
- Taping you Mac trackpad with two fingers spaced within an inch or so will act as a right click button.
- If your Mac trackpad does not recognize your fingers then check your trackpad’s setting in system preferences.
